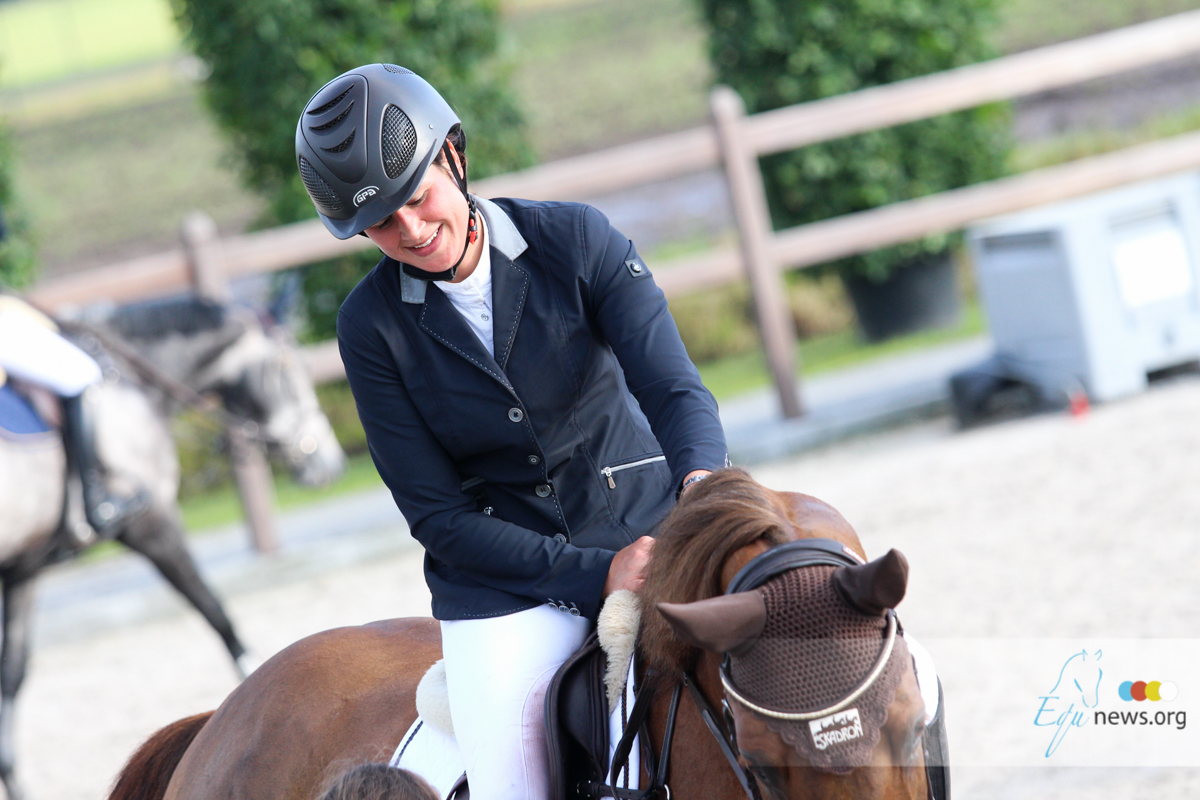
Last time we already introduced the warm-up is an important key to have a successful jumping. This time Steve & Jenni McAllister talk about the Flatwork and the first jump: We generally recommend getting on your horse when you have about 12 horses to go before your turn. Walk around the schooling area for several minutes before picking up the trot. The goal of your flatwork is to warm up, loosen up and stretch your horse’s muscles in preparation to jump. This isn’t the time to drill him and insist on absolute correctness (from him or yourself). Instead, spend about five minutes asking him to stretch his head and neck forward and down to go “long and low” at the walk, trot and canter. After that, shorten your reins and gradually ask him to go forward from your leg into your hand for a little more collection. Then spend some time lengthening and shortening his stride at all three gaits. Depending on his level of training, work in some familiar lateral work—shoulder-in, haunches-in, etc. When your horse feels physically warm and limber, take a walk break and check how many horses are left ahead of you. Start with a Big Crossrail When there are about five horses in front of you, start the jumping phase of your warm-up. Set the jump cups for your crossrail as high as legally possible within the U.S. Equestrian Federation rules. This will encourage your horse to use his shoulder and chest muscles to rotate and lift his scapulas (shoulder blades) and forearms. Place a ground rail 9 to 12 inches from the base of the jump, on each side, to help him arrive at a comfortable takeoff spot, so he has plenty of time to lift his front end and “roll,” or rotate, his body smoothly over the jump. Approach the crossrail in a very slow, powerful canter, using your legs to create plenty of impulsion and your seat and reins to collect his energy. This will encourage your horse to use power, rather than speed, to clear the fence. Do this once in each direction. If the jump is flagged to be jumped in only one direction—with the red flag on your right—approach it in that direction, first on one lead and then on the other. Then approach the crossrail on a circle or turn, asking him to turn slightly in the air so that he lands on a straight line. This will sharpen his technique without scaring him. If your horse has a lazy front leg, approach the crossrail at an angle, so that you arrive closer to the high part of the “x” on the side he tends to hang his leg. So, for example, if he has a lazy right front leg, approach the jump heading from right to left. Again, ask him to land on a straight line, perpendicular to the fence. At this point, your purpose is still primarily to warm up your horse’s jumping mechanism. You’ll also be starting to get a feel for how he’s feeling. Is he fresh, lazy, nervous? Throughout the rest of your warm-up, use the landing sides of the jumps to work on his rideability. Approaches are important, but what you do after each fence is the most important. This is the time to correct whatever went wrong before the fence. For example, if he opened his step too much in the approach, ask him to land and shorten his stride. If you have trouble bending him to the left in the approach, turn left afterward. If he gets out of balance in the approach, do some transitions or lateral work on the landing side. Always react to his mistakes after he lands, not while you’re in the air. The landing side of jumps is also a good time to remind your horse to be on his toes for the constantly changing demands he’ll face on course. Test his responsiveness by changing your speed or direction every four to six strides—speed up, slow down, turn, speed up, and so on. You can ask him to land on a certain track, angle or lead—or even practice holding a counter-canter. Although we’re not proponents of forcing multiple rubs in the warm-up, we allow horses to make mistakes so that they’re more careful in the ring. Throughout your entire warm-up, try not to protect your horse from hitting the jumps. Don’t hold him off the fence with your reins in the approach, cluck on takeoff or override with your legs and seat. Don’t abandon him, either, by riding with less-than-normal rein and leg support. If he makes a particularly beautiful effort over a fence, instead of pushing him more to try to get a rub, bring him to a walk, pat him, say “good boy,” and give him a breather. Let his memory of that good jump sink in. After you’ve jumped the crossrail about three times, give him another breather.


